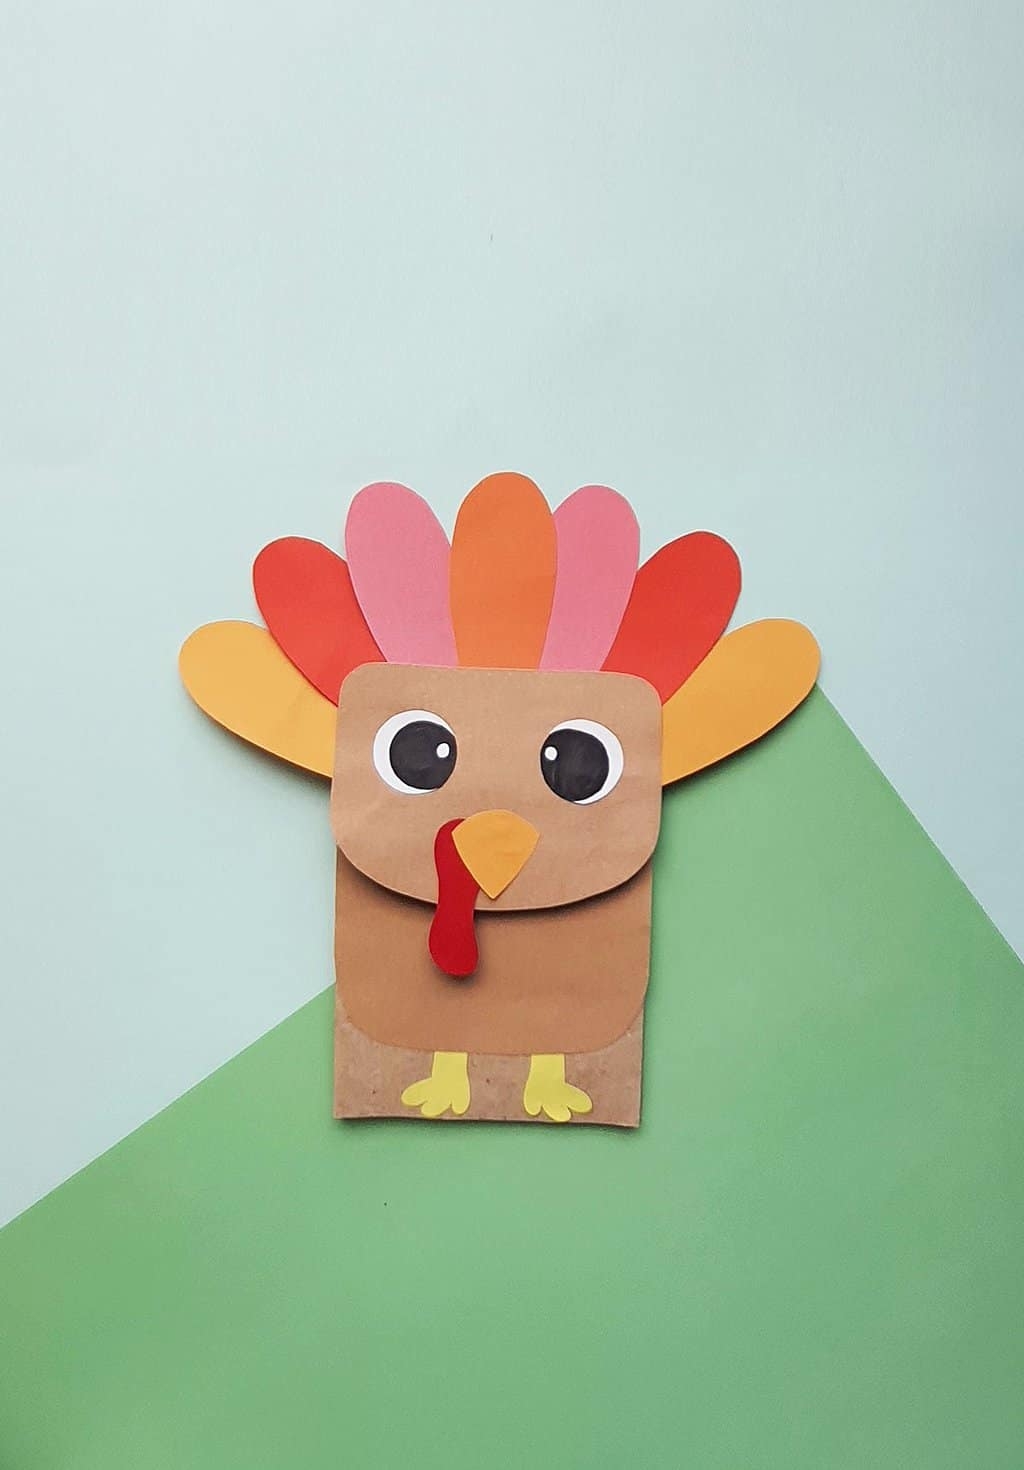
Looking for a fun and easy craft project to do with your kids this Thanksgiving? Why not try making a paper bag turkey! This simple and adorable craft is perfect for children of all ages and can be customized with different colors and patterns to make each turkey unique. Plus, with our printable template, you’ll have everything you need to get started!
To begin, gather your materials including a brown paper bag, colored paper, scissors, glue, and our printable turkey template. Simply print out the template and cut out the pieces to use as a guide for assembling your turkey. Then, follow the step-by-step instructions below to create your own festive decoration!
Step 1: Cut out the turkey body, wings, and feathers from the colored paper using the template as a guide. You can choose to use traditional Thanksgiving colors like orange, red, and yellow, or get creative with different patterns and designs.
Step 2: Glue the turkey body to the front of the paper bag, positioning it near the bottom. Then, attach the wings to the sides of the body and the feathers to the back of the bag, fanning them out to create a tail.
Step 3: Use the template to cut out the turkey’s eyes, beak, and wattle from colored paper. Glue these pieces to the front of the turkey body to give it a face and some personality.
Step 4: Let your turkey dry completely before displaying it as a festive centerpiece or decoration for your Thanksgiving celebration. You can even add extra embellishments like glitter, sequins, or googly eyes for some extra flair!
With our printable paper bag turkey craft template, creating a fun and festive Thanksgiving decoration has never been easier. This simple and engaging project is perfect for kids of all ages and can be customized to match your holiday decor. So gather your supplies and get crafting this Thanksgiving season!
